The Cockpit
One of the Arado 234's striking characteristics is its completely glazed nose which exposes much more cockpit detail than would normally be seen on more 'conventional' aircraft.
In my previous post I had promised myself (and anyone reading for that matter) that this would be a straight-forward, no-frills build but after looking at a number of photos of the last surviving Ar 234 I just could not help myself - that cockpit begs to be detailed.
Preparation
As previously mentioned, I had a number of aftermarket detail parts for this kit, a fair number of which are resin. This is especially true for the cockpit as the entire cockpit tub, detail and rear bulkhead are resin parts, so the first thing to do was to clean the various bits.
Quick Tip
Resin dust is hazardous for the lungs. Make sure to wear a protective mask when sanding, cutting, drilling and cleaning resin parts and clean your work-space when you're done. You may find it convenient to work on all the resin bits in one go.
Resin dust is hazardous for the lungs. Make sure to wear a protective mask when sanding, cutting, drilling and cleaning resin parts and clean your work-space when you're done. You may find it convenient to work on all the resin bits in one go.
The Cockpit Tub
After preparing all the resin, I started working on the cockpit tub. I needed to use the rudder pedal supports from the original kit part so they were sawed off using the same micro-saws used to cut out the wing control surfaces as shown in part 1 of this series.
 |
| Removing the original rudder pedal supports |
 |
| Transplant complete |
 |
| The rudder pedals are fixed in place |
Quick Tip
Use a sharp round edge of a number 10 blade to separate photo etch parts from their fret. Make sure to cut on a hard surface such as a metal block to prevent the fret from bending when you apply pressure. Try to be as precise as you can and cut as close to the part as possible as filing away any extra bits can be tricky.
I then tackled the control column which was also supplied in resin and is much more accurate than it's plastic counterpart. The aftermarket control column came in two parts, the column itself and the handlebars. I wasn't happy with the detail on the handle bars - which is another way of saying I broke them whilst cleaning off all the flash - so I fashioned my own using some copper wire. You can see the result next to the original kit part in the image below:
 |
| Comparing the control columns, resin (and copper) part on the left, plastic on the right |
 |
| Control column in place |
Preparing for the instrument panel
The instrument panel on the Ar 234 is held in place by a number of supports, two of which come out from a "U" shaped panel on the front of the cockpit tub. The kit instructions would have you glue the instrument panel directly to the canopy... something I would like to avoid because a) it's not accurate and b) it just would not look right. First off the "U" panel...
The following sequence of photographs shows how this was fashioned out of plastic-card:
 |
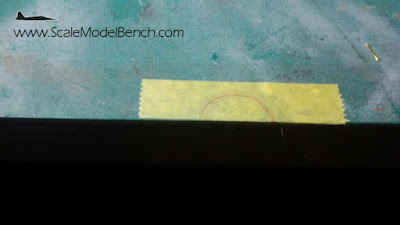
| Marking the cross-section using lower half of glazed nose |
 |
| The marked cross-section on strip of masking tape |
 |
| Cross section cut out and tape transferred to plastic sheet |
 |
| The cut panel |
 |
| The finished item |
Here's a shot of the panel, fixed in place and drilled in preparation for the instrument panel supports. The gap seen on the left is due to the cockpit tub shifting whilst taking the photo.
I also added some wiring detail to the rudder pedals.


Much of this is determined by the scale of the model itself Scale Model Kit Reviews Detailing your model tank is not difficult as long as you take the time to think out the changes you wish to make before hand
ReplyDeleteSpecifically, the sum of all the person losses is used to fund the big jackpots. Therefore, to offer attractive 온라인 카지노 jackpots, many players should lose all of their Tuesday evening bankroll. Choose among forty thrilling table games, with friendly sellers and an environment of unparalleled comfort. Try your hand at favorites similar to Blackjack or Roulette, or take a shot at Craps, Head’s Up Hold’em, and Flop Poker.
ReplyDelete